INTRODUCTION
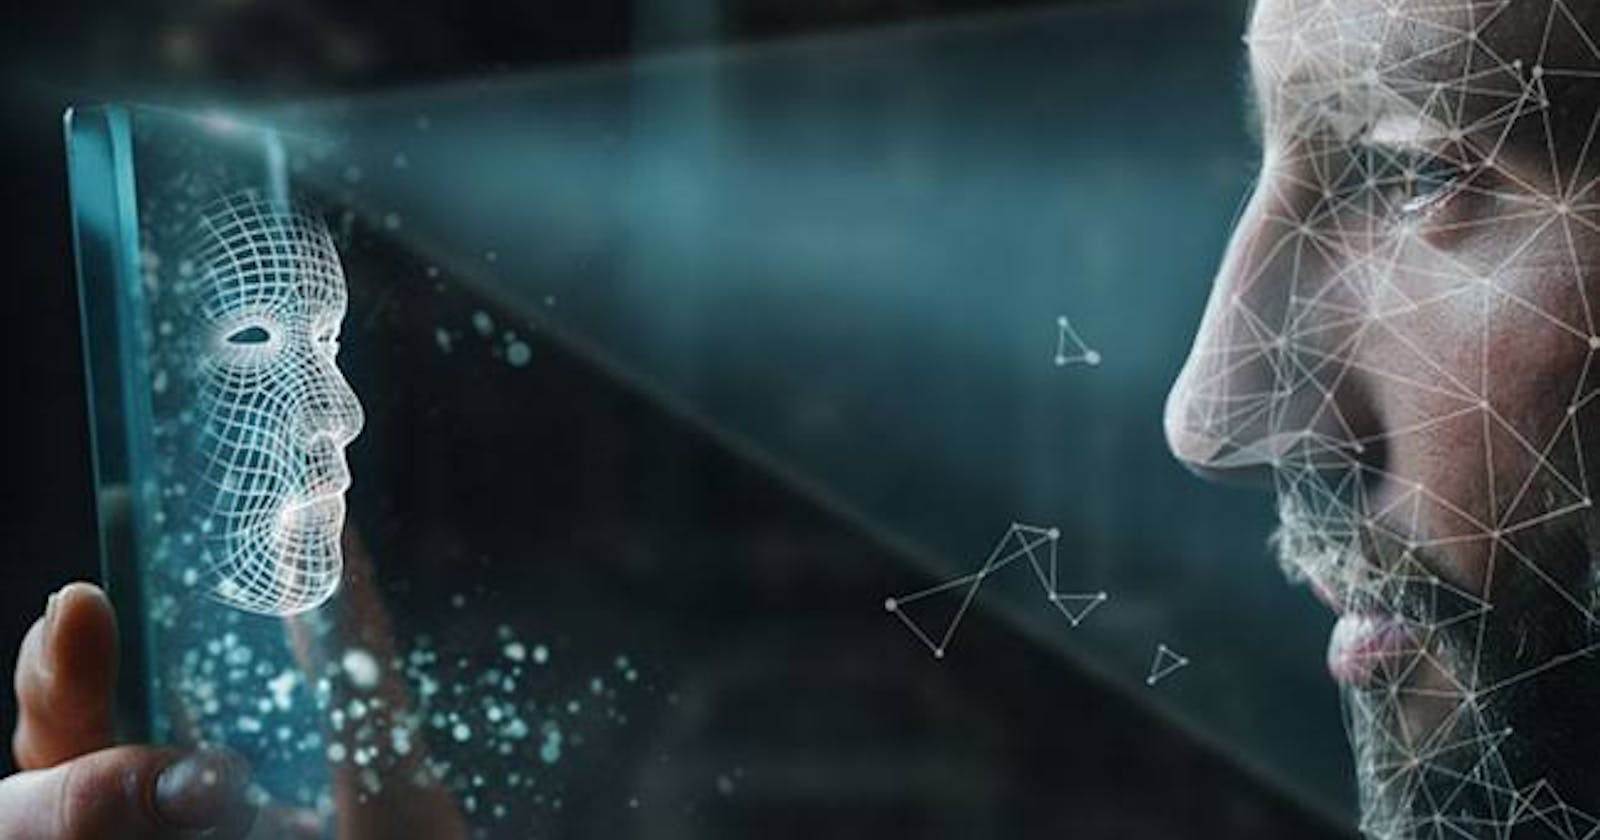
When it comes to image analysis, Facial recognition is one of the most successful application. It is capable of identifying or verifying a person’s face with digital masking from image to video, this advancement in technology happened over the years and now we can implement these systems into smart attendance taking. Usually, attendance is done manually. It can be signed or called one after another but this method has proven to be highly flawed with less than 60% accuracy. In this digital age, there must be a change from this absence to be able to accelerate and provide time efficiency.
Prerequisites
- A PC (with functional cam)
- Python and VMware installed
- Folder containing students jpeg
Installations
Firstly we need to download and install CMAKE and VNWARE On our computer in other for us to be able to install dlib, after that we run the following commands in out command line.
pip install face-recognition
pip install dlib
pip install opencv-python
importing modules 🛠️
After our packages have been installed, we now need to call our modules that would help out perform the task.
import face_recognition
import cv2
import numpy as np
import os
import pandas as pd
Now that our packages have been installed we need to go into creating functions to perform specific tasks like getting out training images, encoding images, creating file for attendance, live stream to take attendance.
#function to take the attendance in a csv file
def attendance(name):
    with open('attendance.csv', 'r+') as f:
        MyDataList = f.readline()
        nameList = []
        for line in MyDataList:
            entry = line.split(',')
            nameList.append(entry[0])
        if name not in nameList:
            time_now = datetime.now()
            tSTr = time_now.strftime('%H:%M:%S')
            dSTr = time_now.strftime('%d/%m/%Y')
            is_there = "Present"
            f.writelines(f'{name},{is_there},{tSTr},{dSTr}')
The above code creates a file called “attendance.csv” and it takes continuous attendance of every recognized face.
#code starts here calling the openCV video function
video_capture = cv2.VideoCapture(0)

#training model to get encoding for faces

known_face_encodings = []
known_face_names = []

path = 'sample_images'
path_list = []
for a in os.listdir(path)[1:]:
    myList = os.path.join(path, a)
    path_list.append(myList)
    #studentName.append
    known_face_names.append(a.split(".", 1)[0])

for i in path_list:
    training_img = face_recognition.load_image_file(i)
    training_img_encoding = face_recognition.face_encodings(training_img)[0]

    known_face_encodings.append(training_img_encoding)


#initializing variables to take face location
face_locations = []
face_encodings = []
face_names = []
process_this_frame = True

#opening system camera
ret, frame = video_capture.read()
Encoding is the process where the computer takes specific facial features and convert them into codes (array), to help better identify that person.
while True:
    # Grab a single frame of video
    ret, frame = video_capture.read()

    # Resize frame of video to 1/4 size for faster face recognition processing
    small_frame = cv2.resize(frame, (0, 0), fx=0.25, fy=0.25)

    # Convert the image from BGR color (which OpenCV uses) to RGB color (which face_recognition uses)
    rgb_small_frame = small_frame[:, :, ::-1]

    # Only process every other frame of video to save time
    if process_this_frame:
        # Find all the faces and face encodings in the current frame of video
        face_locations = face_recognition.face_locations(rgb_small_frame)
        face_encodings = face_recognition.face_encodings(rgb_small_frame, face_locations)

        face_names = []
        for face_encoding in face_encodings:
            # See if the face is a match for the known face(s)
            matches = face_recognition.compare_faces(known_face_encodings, face_encoding, )
            name = "Unknown"

            # # If a match was found in known_face_encodings, just use the first one.
            # if True in matches:
            #     first_match_index = matches.index(True)
            #     name = known_face_names[first_match_index]

            # Or instead, use the known face with the smallest distance to the new face
            face_distances = face_recognition.face_distance(known_face_encodings, face_encoding)
            best_match_index = np.argmin(face_distances)
            if matches[best_match_index]:
                name = known_face_names[best_match_index]

            face_names.append(name)

    process_this_frame = not process_this_frame


    # Display the results
    for (top, right, bottom, left), name in zip(face_locations, face_names):
        # Scale back up face locations since the frame we detected in was scaled to 1/4 size
        top *= 4
        right *= 4
        bottom *= 4
        left *= 4

        # Draw a box around the face
        cv2.rectangle(frame, (left, top), (right, bottom), (0, 0, 255), 2)

        # Draw a label with a name below the face
        cv2.rectangle(frame, (left, bottom - 35), (right, bottom), (0, 0, 255), cv2.FILLED)
        font = cv2.FONT_HERSHEY_COMPLEX
        cv2.putText(frame, name, (left + 6, bottom - 6), font, 1.0, (255, 255, 255), 1)
        attendance(name)
        #if name in known_face_names:
            #attendance.append('pressent')
        #else:
            #attendance.append('absent')

        #df = pd.DataFrame({'Student_name': known_face_names, 'attendance': attendance})

    # Display the resulting image
    cv2.imshow('Video', frame)

    # Hit 'q' on the keyboard to quit!
    if cv2.waitKey(1) & 0xFF == ord('q'):
        break

# Release handle to the webcam

video_capture.release()
cv2.destroyAllWindows()
Now when you run the code it takes down the name of every identified person alone with the date and time the person was identified.
Conclusion
We’ve covered the entire concept of facial recognition and defined required functions for the program. A down side of this program is the amount of processing power it takes and causes the system to lag.
Let's connect 🖇️
feel free to reach me on: LinkedIn
